
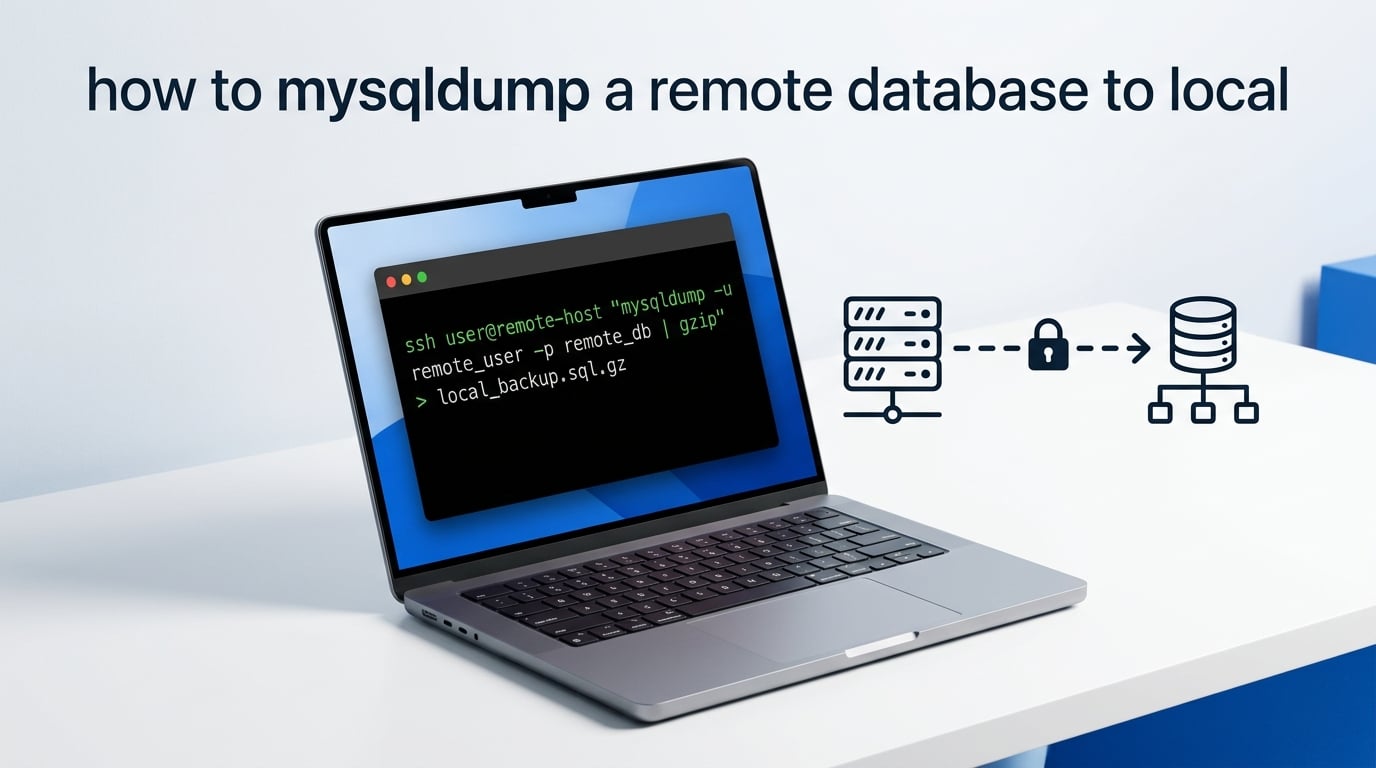
If you manage a MySQL database on a remote server, you have probably needed a local copy at some point. Whether you want a development snapshot, a staging clone, or a disaster-recovery backup, the mysqldump command is the standard tool for the job. In this guide, I will show you exactly how to mysqldump a remote database to local using two reliable methods: a direct connection with the --host flag and a more secure SSH tunnel approach.
Both methods work on Linux, macOS, and Windows, and I will share copy-pasteable commands for each. By the end, you will also know how to automate backups with cron or Task Scheduler and how to fix the most common errors.
Table of Contents
Quick Answer: The One-Liner
Need the command right now? Here is the fastest, most secure way to dump a remote MySQL database to your local machine through an SSH tunnel:
- Open a terminal on your local machine.
- Run:
ssh [email protected] 'mysqldump -u dbuser -p dbname' > local_backup.sql - Type the MySQL password when prompted.
- Wait for the transfer to finish.
- Restore locally with:
mysql -u root -p local_db < local_backup.sql
That single SSH pipe is the simplest answer to how to mysqldump a remote database to local without exposing port 3306 to the internet. The rest of this article walks through each step in detail and the alternatives you should know about.
What You Need Before You Start
Before you run any command, confirm that you have the following on your local machine and the remote server:
- SSH access to the remote server (username, hostname or IP, and either a password or a private key).
- The mysqldump client installed locally. On Debian/Ubuntu run
sudo apt install mysql-client; on macOS usebrew install mysql-client; on Windows install MySQL Shell or use the standalone zip from the MySQL site. - MySQL credentials for a user that has at least
SELECTandLOCK TABLESprivileges on the database you want to dump. For multi-database dumps, the user needsSELECTon every schema. - Disk space for the resulting
.sqlfile. A rough rule of thumb is that the dump is about 60–80% of the live database size. - A target database locally if you plan to restore the dump right away (see the Restoring section below).
Quick safety note: never paste your MySQL password on the command line. Use -p alone so the shell prompts for it; this keeps the password out of your shell history.
Method 1: Use mysqldump With –host Directly
The most direct answer to how to mysqldump a remote database to local is to pass the remote hostname to mysqldump using the -h (or --host) flag. This works only if the remote MySQL server accepts connections from your IP on port 3306.
Single database
mysqldump -h remote.example.com -P 3306 -u dbuser -p dbname > dbname.sqlReplace remote.example.com with the server hostname or IP, dbuser with the MySQL username, and dbname with the schema you want. Use -P only if the server runs on a non-default port.
Multiple specific databases
mysqldump -h remote.example.com -u dbuser -p --databases db_one db_two > multi.sqlThe --databases flag adds CREATE DATABASE IF NOT EXISTS and USE statements to the dump, which simplifies restoring later.
All databases on the server
mysqldump -h remote.example.com -u dbuser -p --all-databases > all_databases.sqlThis is the answer to the popular question how do I dump all databases in MySQL in one go. You will need a MySQL user with broad privileges (typically SELECT on every schema).
Security warning: connecting directly with -h means the remote MySQL port 3306 must be reachable from your IP. Many providers block this port by default, and leaving it open is a real risk. Use Method 2 if port 3306 is not exposed.
Method 2: Use an SSH Tunnel (Recommended)
The safer answer to how to mysqldump a remote database to local is to forward port 3306 over SSH. Your local mysqldump then talks to localhost:3306 and SSH forwards the traffic through an encrypted tunnel to the remote MySQL server. No public port exposure, no extra firewall rules.
Set up the tunnel interactively
ssh -L 3306:localhost:3306 [email protected] -NThe -L 3306:localhost:3306 part means: open a local port 3306 and forward any connection on it to localhost:3306 on the remote server. The -N flag tells SSH not to open a remote shell, just to forward traffic.
Leave this terminal open. In a second terminal, run the dump as if MySQL were local:
mysqldump -h 127.0.0.1 -P 3306 -u dbuser -p dbname > dbname.sqlClose the tunnel with Ctrl+C in the first terminal when the dump finishes.
Reusable tunnel via ~/.ssh/config
Open ~/.ssh/config on your local machine and add a host block:
Host mysql-tunnel
  HostName remote.example.com
  User sshuser
  LocalForward 3306 localhost:3306
  IdentityFile ~/.ssh/id_ed25519
Now start the tunnel with ssh -f -N mysql-tunnel (the -f flag backgrounds it). Then run the same mysqldump -h 127.0.0.1 ... command as above. This is the cleanest setup when you run dumps often.
Compress the dump on the fly
For large databases, pipe straight into gzip to save bandwidth and disk:
mysqldump -h 127.0.0.1 -u dbuser -p dbname | gzip > dbname.sql.gzTo restore: gunzip < dbname.sql.gz | mysql -u root -p local_db. There is no temp file, no second step.
Cross-Platform Commands at a Glance
Here is how to mysqldump a remote database to local on each major platform. I tested each of these on a fresh install of the platform in 2026.
| Step | Linux | macOS | Windows (PowerShell + OpenSSH) |
|---|---|---|---|
| Install client | sudo apt install mysql-client | brew install mysql-client | Install MySQL Shell MSI from mysql.com |
| Open tunnel | ssh -L 3306:localhost:3306 user@host -N | Same as Linux | ssh -L 3306:localhost:3306 user@host -N |
| Dump single DB | mysqldump -h 127.0.0.1 -u user -p dbname > dbname.sql | Same as Linux | mysqldump.exe -h 127.0.0.1 -u user -p dbname > dbname.sql |
| Dump all DBs | mysqldump -h 127.0.0.1 -u user -p --all-databases > all.sql | Same as Linux | mysqldump.exe --all-databases > all.sql |
| Compress | mysqldump ... | gzip > db.sql.gz | Same as Linux | mysqldump ... | gzip > db.sql.gz |
On Windows you can use either PowerShell (which has built-in OpenSSH since Windows 10) or PuTTY’s plink.exe. PuTTY users replace ssh -L with the SSH > Tunnels panel in the GUI or with plink -L 3306:localhost:3306 user@host -N on the command line.
Restoring the Dump Locally
Once you have the dump file, restoring it locally is straightforward, but the database must already exist on the local server unless the dump contains CREATE DATABASE (the --databases and --all-databases flags add it for you).
Create the local database first
mysql -u root -p -e "CREATE DATABASE IF NOT EXISTS dbname;"Restore from a plain SQL file
mysql -u root -p dbname < dbname.sqlRestore from a compressed dump
gunzip < dbname.sql.gz | mysql -u root -p dbnameWatch for any Access denied messages in the output. They come from the local MySQL user trying to import statements the dump contains; grant the missing privileges and re-run.
Troubleshooting Common Errors
Even with a clean command, three errors cover most failures when you mysqldump a remote database to local.
ERROR 1045 (28000): Access denied for user
This is almost always a username or privilege mismatch. Verify the MySQL user exists on the remote server with SELECT user, host FROM mysql.user; and confirm it has the privileges you need. Also remember that the SSH user (who logs into the server) and the MySQL user (who runs the dump) are usually different accounts.
mysqldump: Got error: 1044: Access denied for user … to database … when using LOCK TABLES
You do not have LOCK TABLES or RELOAD privileges. If your schema supports it, add --single-transaction for InnoDB tables. This takes a single transaction snapshot and skips table locks.
mysqldump -h 127.0.0.1 -u dbuser -p --single-transaction dbname > dbname.sqlMySQL server has gone away
The dump packet exceeded the server’s max_allowed_packet. Raise it on the server temporarily with SET GLOBAL max_allowed_packet=512*1024*1024; or pass client-side flags: --max_allowed_packet=512M --quick --net_buffer_length=16384.
If the dump keeps failing partway through on a very large database, run the dump on the remote server and stream the file down with scp. That avoids a flaky network path mid-dump.
Automate Remote Backups With Cron or Task Scheduler
Once you know how to mysqldump a remote database to local, automating it is the natural next step. The trick is to avoid passwords in plain-text scripts by using a ~/.my.cnf file.
Create ~/.my.cnf on the local machine
[client]
user=dbuser
password=yourpassword
host=127.0.0.1
Lock down the file: chmod 600 ~/.my.cnf.
Linux / macOS crontab
Edit crontab -e and add a nightly job that opens the tunnel, dumps, then closes the tunnel:
0 2 * * * ssh -f -N mysql-tunnel && mysqldump --all-databases | gzip > /backups/$(date +%F).sql.gz; pkill -f 'ssh -f -N mysql-tunnel'Windows Task Scheduler
Create a .ps1 script that runs the same ssh -N and mysqldump pair, then schedule it from Task Scheduler with the -File argument pointing at the script. Set the action to powershell.exe with -ExecutionPolicy Bypass -File C:scriptsbackup.ps1.
Retain the last 7 daily dumps and the last 4 weekly ones; older backups should be moved to off-site storage.
Frequently Asked Questions
How to mysqldump a database?
Run mysqldump -u username -p dbname u0026gt; dbname.sql on a machine that can reach the MySQL server. For a remote server use mysqldump -h remote.host -P 3306 -u username -p dbname u0026gt; dbname.sql, or open an SSH tunnel first with ssh -L 3306:localhost:3306 [email protected] -N and dump against 127.0.0.1. The output is a single .sql file you can restore with mysql -u username -p target_db u0026lt; dbname.sql.
How do I transfer a MySQL database to another server?
Pipe mysqldump through SSH into the destination server in one step: ssh user@source ‘mysqldump -u dbuser -p dbname’ | mysql -u root -p target_db on the destination. The MySQL password is prompted on the source side; you can also pipe a compressed dump with ssh user@source ‘mysqldump -u dbuser -p dbname | gzip’ | gunzip | mysql -u root -p target_db for large databases. This avoids writing any intermediate file.
How do I dump all databases in MySQL?
Use the u002du002dall-databases flag: mysqldump -h remote.host -u root -p u002du002dall-databases u0026gt; all_databases.sql. The MySQL user must have SELECT (and ideally LOCK TABLES) privileges on every schema. For InnoDB-only servers add u002du002dsingle-transaction to avoid locking issues during the dump. The resulting file contains CREATE DATABASE statements, so you can restore it into a fresh server with mysql -u root -p u0026lt; all_databases.sql.
How do I dump and restore a MySQL database?
Dump with mysqldump -u user -p dbname u0026gt; dbname.sql, then create the local database with mysql -u root -p -e ‘CREATE DATABASE dbname;’ and restore with mysql -u root -p dbname u0026lt; dbname.sql. If the dump was compressed, decompress on the fly with gunzip u0026lt; dbname.sql.gz | mysql -u root -p dbname. For a remote source, run the dump through an SSH tunnel (ssh -L 3306:localhost:3306 user@host -N) and restore the resulting local file with the same mysql u0026lt; command.
Key Takeaways
You now have two complete answers for how to mysqldump a remote database to local: a quick -h direct call and a safer SSH-tunnel pattern that you can reuse, compress, and automate.
Use the direct method for one-off dumps against a server you control. Use the SSH tunnel for production databases and for any time port 3306 should not be public. Pair either with a cron or Task Scheduler entry, store credentials in ~/.my.cnf, and you will have a reliable, automated backup path.